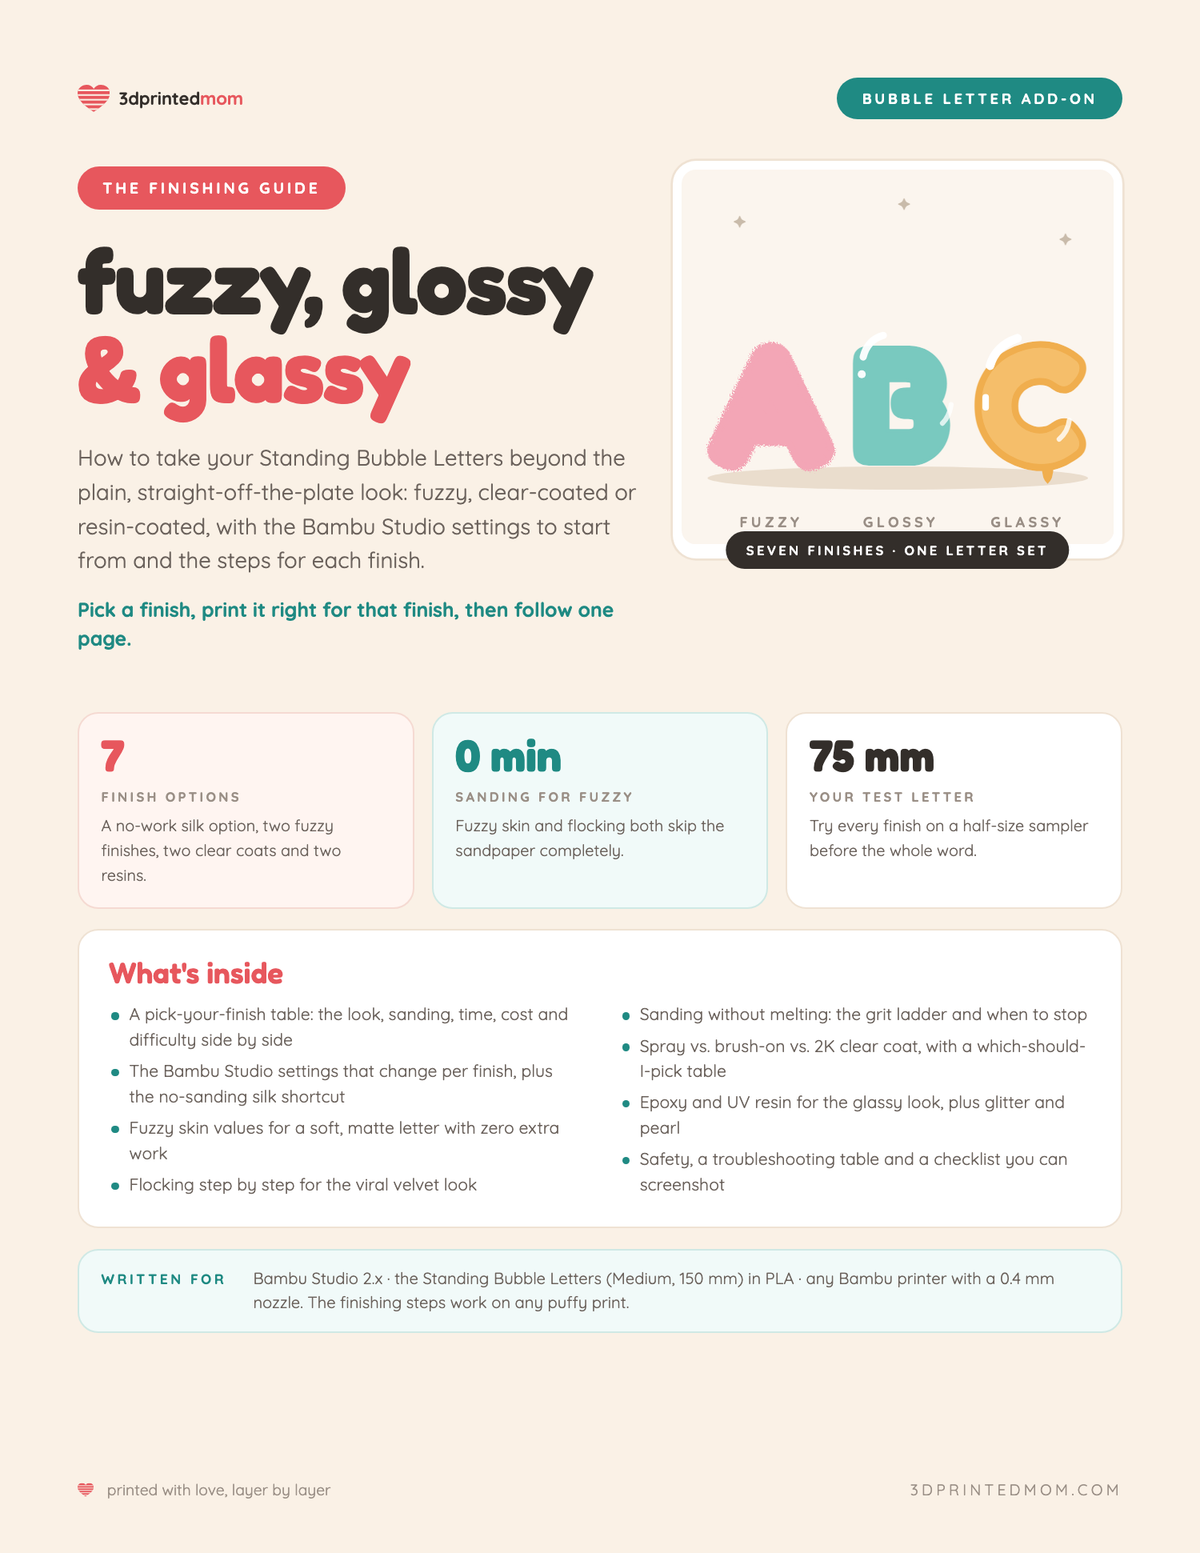
Bubble Letter Finishing Guide: Fuzzy, Glossy & Glassy Finishes for 3D Printed Letters (PDF)
$10.00
Your bubble letters printed. Now make them look like the ones you saw online.
The fuzzy, velvety, glossy and glass-like bubble letters all over your feed weren't like that straight off the plate. Someone picked a finish, set the slicer up for it and followed a few steps after the print. This guide walks you through all of it for the Standing Bubble Letters, one finish per page.
SAVES YOU TIME AND FILAMENT: The Standing Bubble Letters were built to cut the finishing work before you start. Every one of the 38 letters prints face-up with zero supports, so there's no filament wasted on supports, no extra print time, and no support scars to sand before a coat or resin. Every Medium letter stands exactly 150 mm tall, so one set of settings and one test letter cover the whole alphabet, and they stand on their own with no base, magnets or weights to buy. Page 2 shows exactly where those savings come from.
Inside this 12-page digital guide, you'll get:
• Why these letters finish faster and use less filament than a fully round letter
• A pick-your-finish table: the look, sanding, hands-on time, wait time, cost and difficulty for all seven finishes side by side
• The Bambu Studio settings that change per finish, and the silk PLA shortcut that needs no sanding at all
• Fuzzy skin: the zero-extra-work soft, matte letter, with the exact menu path and values to start from
• Flocking step by step for the viral velvet look
• Sanding without melting your PLA: the grit ladder and where to stop for each finish
• Spray vs. brush-on vs. 2K clear coat, with a which-should-I-pick table
• Epoxy and UV resin for the glassy look, plus how to add glitter or pearl without it going cloudy
• A safety page, a troubleshooting table and a checklist you can screenshot
Every finish starts with a 75 mm test letter, so you can try it on a sampler before you coat a whole name. The settings are starting points pulled together from the product makers and the 3D printing community. Your printer and filament may want small tweaks, and the sampler is where you find them.
This guide is perfect for:
• Anyone who bought the Standing Bubble Letters and wants more than a plain finish
• Gift makers turning a name into a nursery, birthday or party piece
• Beginners who have never sanded, sprayed or poured resin before
ADD IT TO YOUR LETTERS: Tick the box on the Standing Bubble Letters page and the guide goes in your cart with them.
DIGITAL DOWNLOAD ONLY
You will receive one 12-page PDF. No physical product will be shipped. Written for Bambu Studio 2.x, the Medium (150 mm) Standing Bubble Letters in PLA and any Bambu printer with a 0.4 mm nozzle. The finishing steps work on any puffy print.
This guide is for personal use. Please don't share, resell or re-upload it. Want to sell letters you finished? Email support@3dprintedmom.com about a commercial license.