Why Your Small 3D Prints Don't Come Out Clean (And the 5 Settings I Changed)
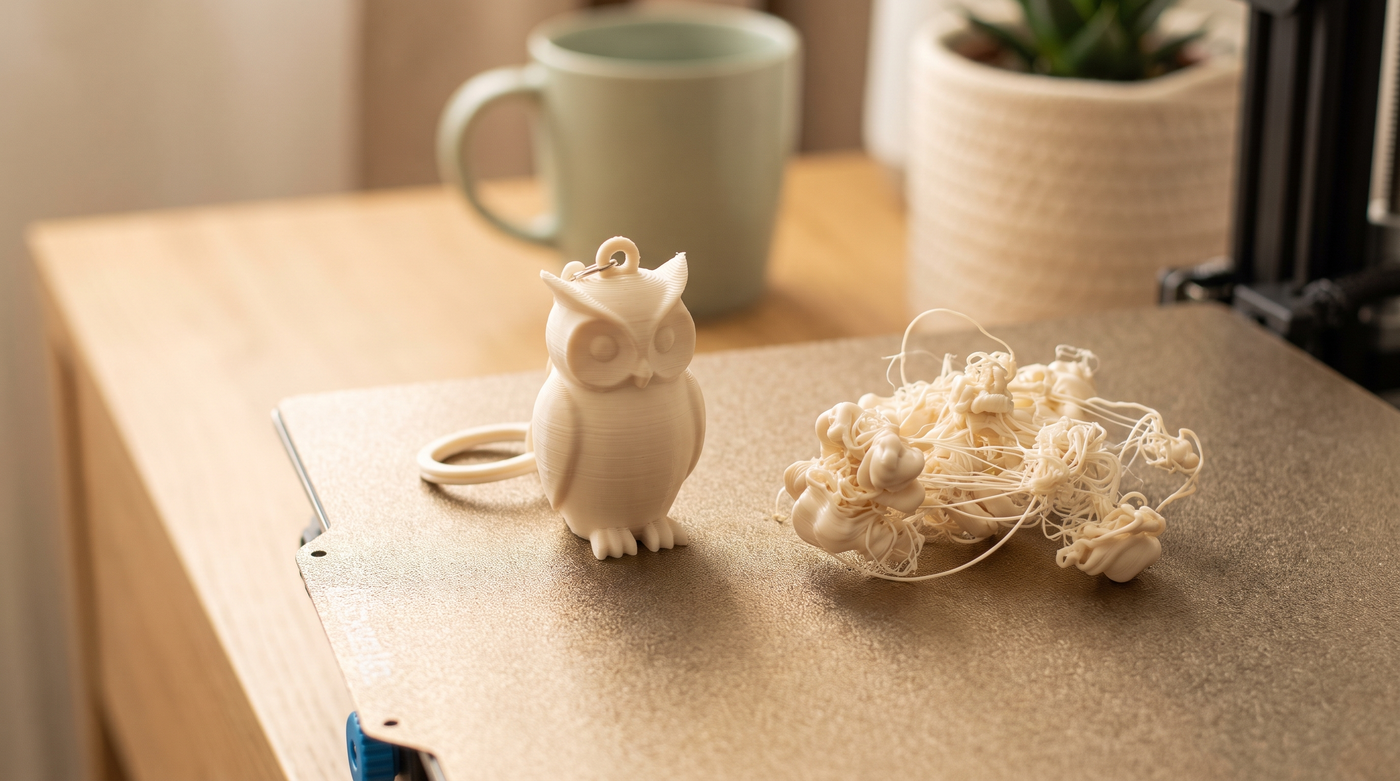
The first keychain I ever tried to print came out looking like a chewed pencil eraser.
I remember standing at the printer at 11pm, holding this sad little blob, genuinely confused. The model looked perfect on screen. The big prints I'd done that week came out fine. So why did the small one look like that?
It took me an embarrassing number of failed prints to work out the answer, so I'm going to save you the spool: small prints aren't just big prints scaled down. They fail for their own specific reasons, and they need their own specific settings.
Here are the five I change, in the order I change them.
First, why small prints are harder
Two things are working against you on a tiny model.
There's no time to cool. On a big print, the nozzle wanders off and does a whole lap before it comes back to the same spot. That's free cooling time. On a keychain, each layer might take four seconds, so the nozzle is laying hot plastic directly onto plastic that is still soft. Details slump. Edges round over. The whole thing can end up looking slightly melted, because it partly is.
Your features are narrower than your nozzle. A 0.4mm nozzle cannot draw a 0.3mm line of text. When the slicer hits a feature thinner than its line width, it has to decide what to do, and the default answer is often "skip it." That's why small lettering disappears and thin details come out as gaps.
Almost everything below is aimed at one of those two problems.
1. Slow down. More than feels reasonable.
This is the one that fixes the most problems for the least effort, and it's the one everybody skips because nobody wants their print to take longer.
For small detailed pieces I drop the outer wall speed way down — into the 30–50 mm/s range rather than whatever the default profile wants to do. Slower means the plastic has more time to settle before the next bit lands on it, and it means the printer isn't fighting its own inertia on tiny direction changes.
You will feel like you're wasting time. You are not. A keychain that takes 40 minutes instead of 25 and actually comes out right is faster than printing it three times.
2. Switch the wall generator to Arachne
This is the setting that made me feel like I'd been printing with one hand tied behind my back.
The classic wall generator uses one fixed line width for everything. When it meets a feature that isn't a neat multiple of that width, it leaves a gap. Arachne varies the line width as it goes, so it can actually fill a 0.3mm detail instead of shrugging at it.
In both Bambu Studio and Orca Slicer you'll find it under the quality settings as the wall generator option. Switch it from Classic to Arachne and reslice something small that was giving you trouble. Small text, thin rims, and fine embossed details are where you'll notice it immediately.
3. Move the seam — don't randomize it
Every layer has to start somewhere, and wherever it starts leaves a tiny mark. On a big print you barely notice. On a small round thing you absolutely do.
A lot of default profiles set seam position to Random, and the logic sounds fine — spread the marks out so no single one stands out. In practice, on a small print, you don't get one seam you can hide. You get dozens of little dots scattered over the whole surface, which reads as "bad print quality" even though nothing is technically wrong.
Set it to Aligned or Back instead. Now every layer starts in the same place, you get one tidy line, and you can point that line at the back of the model where nobody looks.
4. Match your layer height to the detail, not the clock
If your model has fine surface detail, a 0.28mm layer height is going to steamroll it. There simply aren't enough layers to describe the shape.
Dropping to 0.12mm or 0.08mm gives the detail somewhere to live. If you have a 0.2mm nozzle and you're printing something genuinely tiny, you can go finer still — 0.05–0.08mm layers with a smaller nozzle is a different league of crisp, though be warned it's slow and it clogs more easily if your filament isn't clean.
You don't need to do this for everything. A bag hook doesn't need 0.08mm layers. A textured charm does.
5. Dry your filament (yes, really, even the new spool)
I resisted this one for a long time because it sounded fussy. Then I dried a spool that had been sitting open on a shelf all summer, printed the exact same file with the exact same settings, and the difference was so obvious I felt silly.
PLA pulls moisture out of the air. When that damp filament hits the hot end, the water flashes to steam inside the nozzle. You get popping sounds, little blobs, stringing, and a rough finish — all the things people blame on temperature.
Dry PLA around 45°C for six to eight hours. PETG wants hotter, around 65°C. If you live somewhere humid, this isn't an occasional chore, it's just part of printing.
A note on the order
Change one thing at a time. I know that's annoying advice when you just want the print to work, but if you change five settings at once and it comes out better, you've learned nothing and you can't repeat it.
Slow it down first. That alone fixes a surprising number of problems. Then Arachne, then the seam, then layer height, and dry your filament any time the surface looks rough for no clear reason.
Why I ended up selling the settings, not just the shape
Here's the part I didn't expect when I started.
Once I finally got a design dialed in — the speeds, the walls, the seam, the orientation, whether it needed supports — that setup was worth more than the model itself. Anyone can find a shape. Getting the shape to come off the plate looking like the photo is the actual work.
That's why the files in my shop are 3MF project files, not just STLs. An STL is only the shape, and you'd be right back at the start doing your own trial and error. The 3MF carries the settings with it, so you open it and print it, instead of opening it and guessing.
I burned the failed prints so you don't have to. That's genuinely the whole pitch.
Common questions
Do I need a fancy printer for small prints?
No. Settings matter far more than the machine. A well-tuned budget printer will beat an expensive one running defaults every single time.
Why does my print look fine except for one rough patch?
That's usually the seam, or it's an overhang that didn't get enough cooling. Check where the rough patch sits relative to the shape before you change any settings.
My small print came out fused into a blob. What happened?
Almost always too hot, too fast, or both, with not enough cooling time per layer. Slow it down first and see what changes.
Is it worth buying a 0.2mm nozzle?
If you mostly print small detailed things, yes. If you print a bit of everything, get the 0.4mm dialed in properly first — there's more headroom there than most people use.
What's the small print that's been defeating you? Tell me what it's doing and I'll tell you which of these five I'd try first. 💅🏼